Eggless Buckwheat Waffles

eggless buckwheat waffles 02

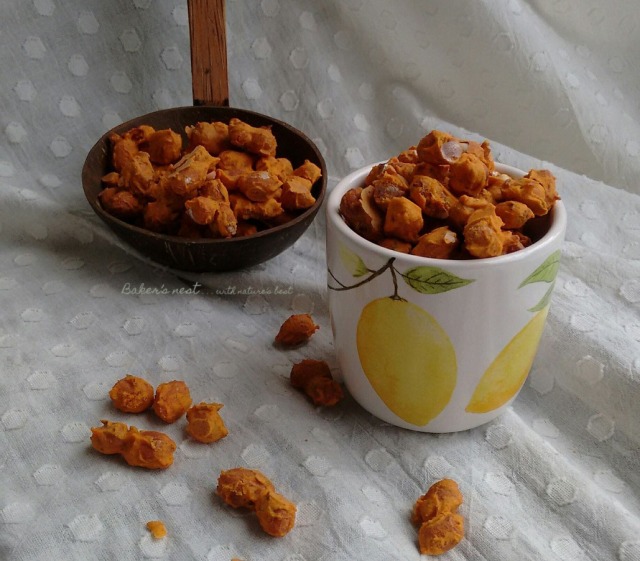
Buckwheat is not a derivative of wheat, in fact it does not belong to wheat family at all. Buckwheat seeds are eaten as groats or flour; hence it is referred to as a pseudo cereal too. Buckwheat is high in essential nutrients. It is rich in many trace minerals, including manganese, magnesium and copper. It is also a good source of the B vitamins: B6, pantothenic acid, niacin, folate, thiamin and choline. You can read more about buckwheat from here and here. It is also known as ‘kuttu’ locally in Mumbai and used for Hindu fasting meals.

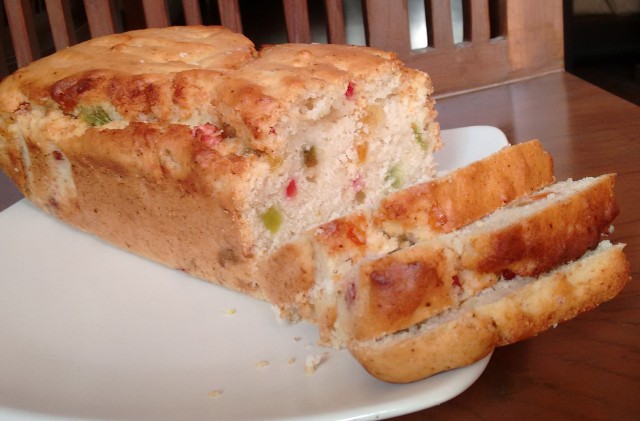
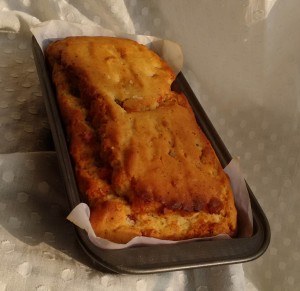
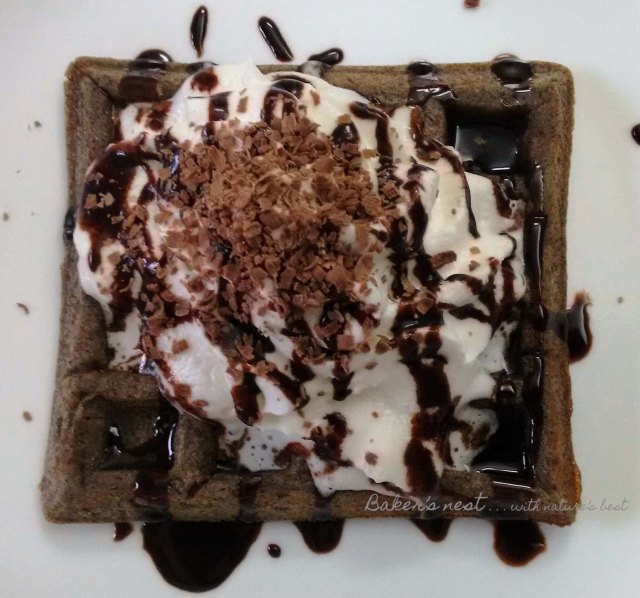
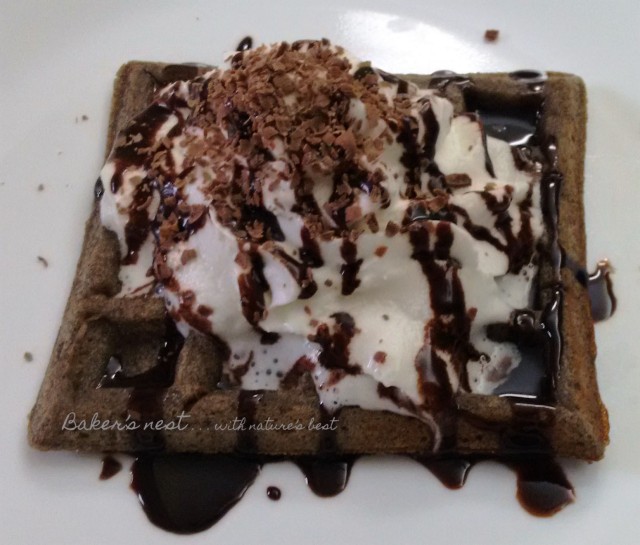
I try and incorporate such healthy ingredients in everyday cooking wherever possible. I am sure there are better and healthier ways to consume this powerhouse. But, till I find more ways to cook this grain I am happy with these waffles. My son too consumed these ‘chocolate waffles’ (for him anything brown is chocolate;) with complete admiration. Here I have topped these waffles with ready to use whipped cream (Result of my impulse grocery shopping). But you can top these waffles with fresh fruit, honey or maple syrup.

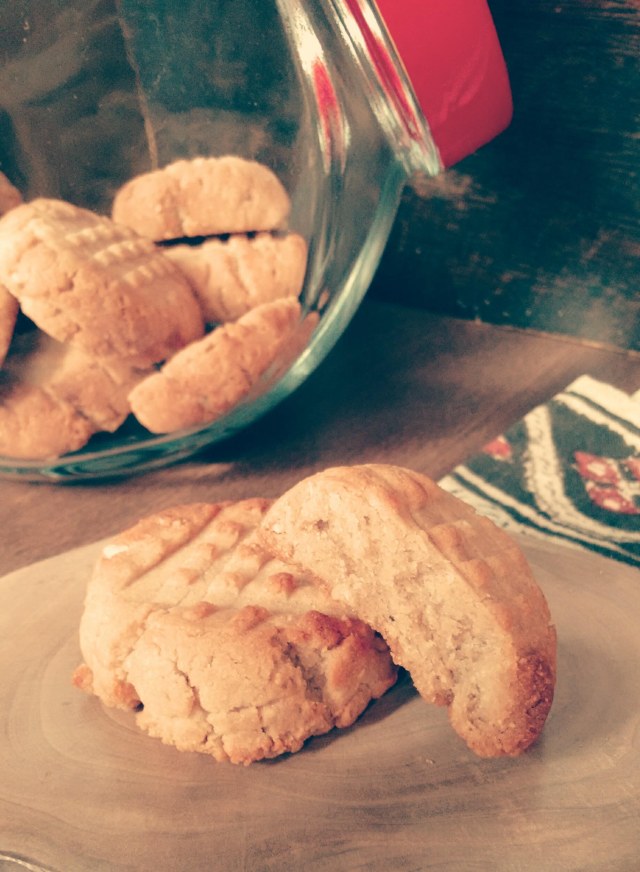
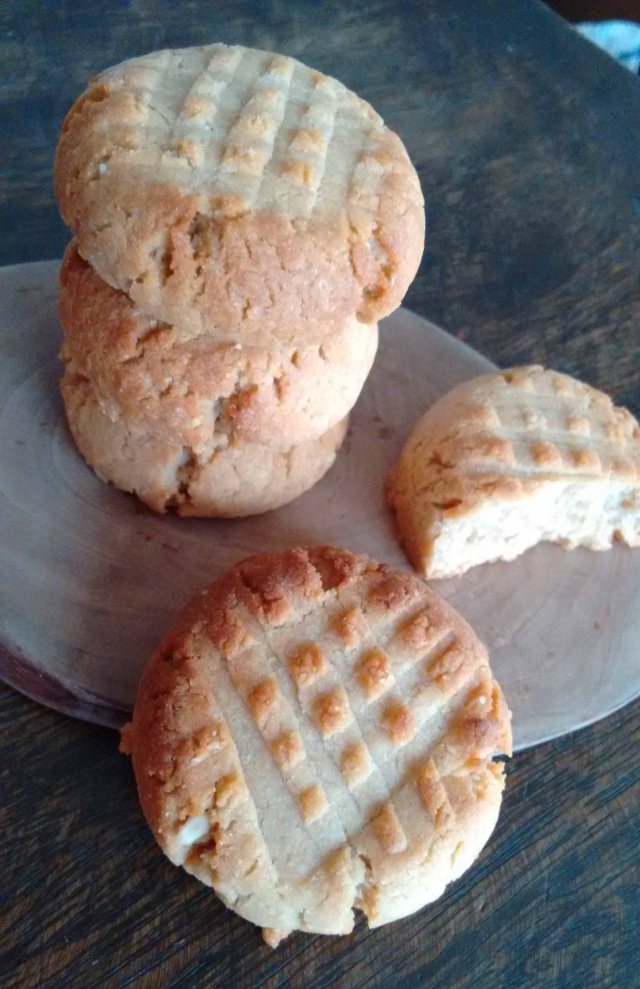
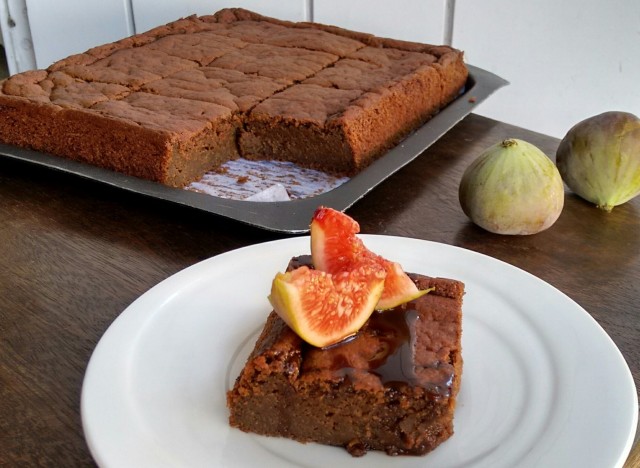
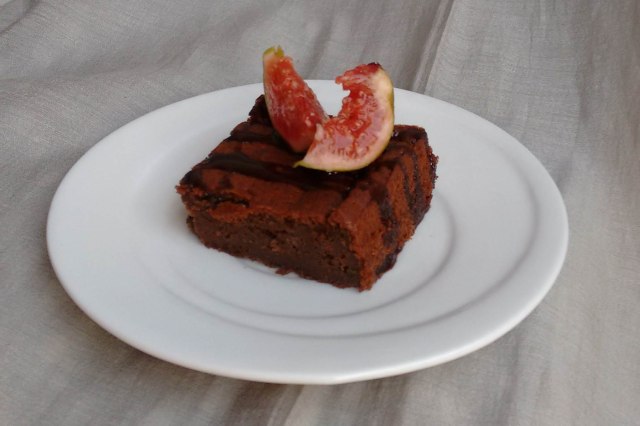
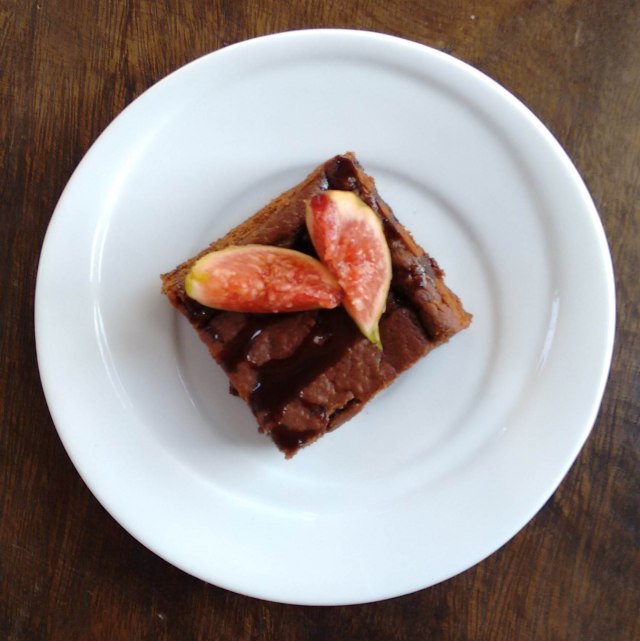
The photos were clicked on the dining table itself as Avvi refused to wait longer and hence are not up to mark. But on a good note, I feel so happy when Avvi devours something which I make. I am one satisfied mother.

eggless buckwheat waffles 01

Dry Ingredients

3/4 cup Buckwheat flour

3/4 cup Maida or All-purpose flour

1 tsp Baking powder

1/2 tsp Salt

3 tbsp powdered sugar
 

Wet Ingredients

1 cup Milk (use non-dairy milk for vegan waffles)

3/4 cup Water

2 tsp Apple cider Vinegar
1/4 cup Oil

½ tsp vanilla extract


Take milk in a bowl, add vinegar and set it aside to curdle.

Meanwhile mix buckwheat flour, maida, baking powder, salt and sugar.

To the curdled milk add water and oil and vanilla extract and mix well. Add dry ingredients to wet and make a lump free batter. Adjust water to get pouring consistency if required.

Let the batter rest for 8 to 10 mins.

Meanwhile preheat the waffle iron. Brush the plates with butter and pour a ladle of batter at a time so as to cover the plate.

Cook the waffles according to manufacturer’s directions. Mine were done in about 4 minutes. Enjoy with your favourite topping. Here I have used whipped cream and chocolate syrup, but can use fresh fruits, honey or maple syrup.


Milk Bread

milk bread 01

This is my first bread recipe on the blog and it had to be this milk bread. You would have read about my love for this milk bread here, typical from Iyengar bakery, since I was a child. This soft and slightly sweet bread takes you to heaven when you slather generous amount of butter on it. That’s my favourite way to have this bread.

milk bread 02

This is a very easy recipe; just make sure that your yeast is good.  I have had a long relationship with yeast and I had my initial good days followed by a long series of disasters. But, baking your own bread feels amazing and the aroma is heavenly. I have used active dry yeast, fresh yeast and instant yeast in my previous attempts and found that I am most comfortable with instant yeast, so this is what I have used here. Good yeast is crucial to a good bread and proof the yeast before you start making bread if you are unsure.

milk bread 03


1 1/4 tsp instant dry yeast

3/4 cup luke warm milk

2 tbsp powdered sugar

2 tbsp clarified butter (ghee) or oil

3/4 tsp salt

2 1/4 cup bread flour or Maida.

Luke warm water as required


In a bowl add sugar and yeast and give it a stir. Add the luke warm milk, mix and let it sit for 5 mins till the mixture is frothy.

In a stand mixer add bread flour or maida, salt and mix well. Then add ghee or oil and run the mixer to incorporate the fat into the flour.

Then slowly add the yeast mixture to the flour in the stand mixer while mixing all the time. Follow it with required quantity of luke warm water to form a soft dough. The dough should be soft and sticky.

Knead the dough for 9 to 10 mins in the stand mixture. You can also the above process by hand, kneading for around 15 mins with the heel of your palm. Post kneading the dough should be soft and should come together as a ball. You can check the doneness with a window pane test. In this test take a small portion of dough and stretch it till it becomes translucent. If the stretched dough breaks before it could be stretched to the correct thickness then knead for some more time.

Transfer the dough to an oiled bowl. Spread some oil on top of the dough too. Cover the container with a cling film or a damp muslin cloth.

Now let the dough rest in a warm dark environment for an hour or more till it doubles its size. Do not keep checking the dough every now and then . . . let the yeast work in peace.

When the dough doubles in size, roll the dough into a log shape and place it in a greased loaf pan with the seam side at the bottom. Here, I have used an 8 inch X 4 inch loaf pan.

Now keep the loaf pan in a warm dark place un-disturbed for almost an hour for the second rise.

When the dough has risen above the pan carefully place the pan in a 200 degree centigrade preheat oven. Bake for 25 to 30 mins till you get a hollow sound when you gently knock on the bread.

Let the pan rest for 10 mins once out. Then with a knife loosen the sides of the bread from the pan and pop the bread out of the pan and onto a cooling rack to cool completely. Slice the bread with a bread knife when the bread is cooled.

Eggfree Blueberry Muffins

eggfree bluberry muffins

Yeah, blueberries . . .

Well, you can replace blueberries with chocolate chips or chunks or raisins.

But blueberries are wonderful; I have used frozen blueberries here. I stocked on some wonderful ingredients during my recent trip abroad. Yes, I go grocery shopping on vacations too J. Didn’t I tell you I am different? So, my readers in India may find some ingredients which are not available easily in India for few of my future posts. But I have got to try these, so please bear with me. Where ever possible, I would also give suggestions for substitutes, so that most of my readers can go ahead and enjoy making the recipe as much as I did.

eggfree bluberry muffins 02

Coming back to these muffins . . . . These are the most awesome muffins I have ever made. I have tried many other versions of eggless vanilla sponge except the one with milk powder. So, I searched for a few recipes and tweaked this recipe for my version from here. I was really blown away with the result . . . the muffins were soft, fluffy and melt in your mouth with hint of berries . . . just amazing. I am sure these will work for you too, give it a try and let me know how it turned out.

eggfree bluberry muffins 01

Dry Ingredients

1 1/2 cups maida or all purpose flour

1 tsp baking powder

1 tsp baking soda

3/4 cup milk powder

3/4 cup powdered sugar


Wet Ingredients

1/2 cup unsalted white butter, melted (I used homemade butter)

1 cup milk

1 tsp vanilla extract

1 cup blueberries (or chocolate chips)


Preheat the oven to 180 degrees centigrade.

Dust the blueberries with maida, so that they do not settle at the bottom while baking.

Sieve all the dry ingredients together and mix well.

Add melted butter and vanilla extract to the milk and combine well.

Pour the wet ingredients into the dry ingredients and gently whisk to get a lump free batter.

Add the blueberries and gently fold into the batter taking care not to smash many.

Scoop out the batter into the cupcake tray lined with liners. Bake for about 18 mins or till the toothpick inserted in the centre comes out clean.

Plum Jam

Plum jam

Avvi loves jams and enjoys all the different fruit jams that I keep experimenting with, though strawberry remains an all-time favourite with us. Infact, Avvi prefers jams to ketchup, so we are always stacked with few bottles at home. I believe homemade jams are a better option than the store bought for kids, as we can cut down on additives, artificial colours and flavours.  I too like to fill jam between the cake layers, as it adds a different note to the flavour profile. So, this is a must have in our pantry.

Plum jam is so rich in colour and tastes amazing. It has a bit of tang which we prefer than a totally sweet jam. They are currently in season here in Mumbai and what better way to preserve some plum goodness. This is an absolute no fuss easy recipe without removing the skin or adding pectin.

plum jam 02

750 gms Ripe plums

Sugar as mentioned in the recipe

Lemon juice as mentioned in the recipe


Wash the plums and pat them dry. Place them in a steel cooker with water just enough to cover the fruit till one fourth level. Do not worry about adding more water. If you add more water you may require boiling the mixture for some extra time, that’s it.

Cook the plums in the pressure cooker for until the one whistle blows and then turn off the heat. Let it cool and the open the cooker.

Remove and deseed the fruits one by one and mash them slightly along with the water it was boiled in. Measure this pulp. I got two and half cups of pulp. Transfer the pulp back to the steel cooker.

For every cup of pulp add a cup of granulated sugar. Add 1 teaspoon of lemon juice for each cup of pulp.

Mix the pulp, sugar and lime juice and turn on the heat. Let the mixture boil and then reduce the heat. Then reduce the heat and keep the mixture bubbly and let it simmer in the open pan. Keep stirring occasionally.

When the mixture starts coating the back of the spoon, take a blob of the mixture in a plate and place it in the freezer for five minutes. If the consistency of the mixture is jam like after five mins in the freezer then your jam is ready.

Pour into sterilised glass containers. You can use the water bath method to can these. I sterilise empty clean bottles in oven at 100 degrees celcius for ten mins. Then pour the hot jam into the jars and close the lids. Keep an inch empty from the brim while filling the jars.

Plum jam 01

To get regular updates by e-mail follow the page or connect with me at Facebook or Pinterest or Google Plus

Masala Peanuts (no frying)

Baked Masala Peanuts

It’s been pouring in Mumbai. I do not enjoy getting wet, but sure like to look out of the window from the comfort and warmth of my house. Add a steaming hot cup of tea with a dash of ginger or lemongrass along with these guilt free peanuts and . . . . the picture almost perfect.

Also, I want to share a secret . . . . I am scared of deep frying. I don’t know if it’s normal but, that’s just me. Last time I deep fried something . . . was almost three years back. But, that does not mean that I do not crave fried food and thankfully I am blessed with two loving mommies who do it for me. Do you too have any such crazy fear?

Baked Masala Peanuts 01

Masala peanuts are an all-time favourite with my husband, so this one is for him :). They are super easy to make and I like these as it keeps a check on my diet without compromising on the taste buds. Happy rains.

Baked Masala Peanuts 02


1 cup Raw Peanuts

1/2 cup minus 2 tbsp Besan (Chickpea flour)

1 tbsp rice flour

Water as required.


Spice mix

Kashmiri red chilli powder as per taste

Salt as per taste

Hint of turmeric powder

3/4 tsp crushed kasuri methi


In a bowl add both the flours; besan and rice flour. To this add the spice mix and mix well.

Add water, a tbsp at a time to form a lump free thick batter (almost like a brownie batter).  Be careful as not to make the batter very runny like we normally do it for bhajiyas. Add a tbsp of besan if you feel that the batter is less or is too runny.

Into this batter add the peanuts and coat them well.

Drop the coated peanuts on a parchment lined baking tray, few at a time. Make sure that the peanuts are not dropped as a blob but scattered around in pairs or trios and are in single layer only. Do not overcrowd the tray.

Bake these in a preheated oven at 200 degree Celcius for approximately 15 mins. You may require a couple of minutes extra as each oven temperature varies. Move the peanuts around after 10 mins and keep a close watch.

The peanuts will be slightly soft when removed from the oven, but will firm up once cooled. Let it cool in the tray itself and store in an airtight container.


Eggless Tutti Frutti Cake

Eggless Tutti Fruti Cake 02

It’s been really long since I posted. Although, there were interesting things that kept me occupied (read vacation), I took a bit too long to get back from my slumber. Blogging is a lot of hard work and I kept finding excuses for myself. Surprisingly during all these times, when I did not post what kept me motivated to get back was steady increase of likes on my Facebook page. Yeah, I have crossed 300 likes on Facebook. This calls for something sweet and here I have a simple vanilla cake decorated with colourful tutti frutti. Use of lemon zest adds freshness to this cake though it can be optional.

I made this cake sometime back, and it was appreciated by everyone. Hope you all enjoy it too.

Eggless Tutti Frutti Cake 01    Eggless Tutti Fruti Cake 03

Ingredients

2 cups Maida or All purpose flour

1 tbsp baking powder
1/4 tsp salt

1 tsp lemon zest

1 cup milk
1 tsp white vinegar
1/2 cup White granulated sugar
1/2 cup Flavourless Oil
1 tsp Vanilla extract

3/4 cup Tutti frutti

Take milk in a bowl and add vinegar to it. Let it sit for 10 to 15 mins till it curdles.

Preheat the oven to 180 degrees Celcius.

Sift together maida, salt and baking powder and then add lemon zest. Mix well.

Now add sugar, vanilla and oil to the milk and vinegar mixture and beat well till all the sugar dissolves.

Mix dry ingredients into the wet and mix well but gently by hand to form a lump free batter. Lastly coat the tutti frutti in 1 tbsp of maida and mix it with the batter.

Pour the batter in a greased and floured or a parchment lined loaf pan. I used a 9 inch x 5 inch loaf pan.

Bake in a pre-heated oven for 50 to 55 mins till a toothpick inserted in the middle comes out clean. Let it cool completely on a wire rack before slicing.

Misti Doi Cheesecake (eggless)

Misti doi cheese cake 02

I have been baking a lot these days and enjoy experimenting with yeast, but do not blog about it as frequently as I would like  . . . . .  it’s just lazy me. So, I made this last month and was loved by everyone. It’s prefect for a party as it please all age groups and can be should be made in advance. But, the best part is how incredibly easy it is to make . . . . With just 3 ingredients, it is a rather exotic sounding dessert.

Misti doi cheese cake 05

I colleague of mine introduced me to Mother Dairy’s Misti Doi and I liked the creamy texture with subtle flavour it offered. Prior to this I have had misti dahi in earthen ware (‘kulhad’ as we call it here) during Durga Puja festivities. It is otherwise hard to find in Mumbai and was really happy to see it. Purist may not be impressed but it worked for me. Soon I was searching recipes to use it in some other form as my husband will not have it as ‘just dahi’. So, google to rescue and I was hooked onto the pictures on this amazing website ‘Passionate about Baking’ and realised that the recipe is eggless too. So, let’s go straight to the recipe.

Misti doi cheese cake 01

400 gms Mishti Doi (I used Mother’s Dairy  brand)

400 gms (1 tin) sweetened condensed milk

200ml cream (I used 25% Amul)

Take a muslin cloth and put in all the dahi. Hang it for about an hour to remove whey. Keep the dahi in refrigerator during this time.

Remove the hung curd from the cloth and mix it together with condensed milk and cream till it becomes a homogenous mixture.

Meanwhile preheat the oven to 180 degree centigrade.

Take a 7” diameter loose bottom cake tin and cover it on with aluminium foil on the outside to prevent any leakage. Place this on a cookie tray.

Add the batter to the prepared tin and bake it for 20 minutes. Leave it in the oven itself to cool. When it has completely cooled to room temperature, cover the tin and keep it in the refrigerator overnight.

Demould and garnish with white chocolate shavings.

Misti doi cheese cake 03

Coffee n Fig Ice cream

Coffee n Fig Ice cream 01

The days are getting hotter and exams are over. It’s time for fun . . . .

This ice-cream is an explosion of flavours. Coffee, figs and chocolate . . . exactly in that order. Fresh figs are still available and so decided to make this creamy luscious and easy recipe adapted from here.

No ice-cream machine.

No churning.

Simple ingredients.

Awesome flavour.

Coffee n Fig Ice cream 02

I have used coffee decoction here and strongly recommend it. I had always been an instant coffee girl and found filter coffee bitter (That’s probably one thing which all coffee lovers admire and want in their cuppa . . . . but this is just weird me). But, few years back when we visited Coorg, we came back with a lot of coffee, mainly for friends and had few packets left with us. The coffee was lying in the freezer for a year and then finally I decided to either use it or give it away. The coffee conquered my senses in the very first meeting. The taste was rounded, smooth and the aroma was heavenly . . . I was addicted. But all good things come to an end and till someone gets me my fix from Coorg, I am using coffee from a local brand which is good, but I don’t admire as much as the earlier one.

Coming back to this ice-cream. Do try this and I am sure you will enjoy it as much as we did.

Coffee n Fig Ice cream 05

For ice-cream

1/2 can (200 gms) sweetened condensed milk
1/2 tablespoon pure vanilla extract
1/4 cup fig compote (recipe below)
1/4 cup coffee decoction (at room temperature)
1 cup cold heavy cream (I used 25% Amul)
1/4 cup chocolate chips (can use less, if desired)

For Fig compote

125 gms fresh figs
1-1/2 tbsp unsalted butter
1-1/2 tbsp brown sugar
pinch of salt (I used Fleur de sel)

Make the fig compote first. Chop the figs and add it to thick bottom pan along with sugar. Cook till the figs are mushy and smash them a bit. Remove from heat and add butter. Let it cool completely before you add it to the ice-cream recipe.

In a medium bowl, stir together the sweetened condensed milk, vanilla, fig compote, coffee.

Whip the cream till soft peaks are formed and then fold it with the coffee-fig mixture. Mix well and uniformly. Pour into a loaf pan and sprinkle chocolate chips and lightly mix.

Freeze for at least 8 hours or overnight. Keep the pan at room temperature for 2 mins before scooping out to serve. Enjoy the creamy ice-cream with your loved ones.

Coffee n Fig Ice cream 04


Peanut butter cookies (eggless)

Peanut butter cookies 01

I usually make cookies on weekend to pack it in the snack box for my kid during the week. But cookies do have a considerable amount of fat even though I try to reduce it as much as possible. So recently, when I happen to come across peanut butter cookies here, I wanted to give it a try.

Peanut butter along with whole wheat it makes a wholesome snack. I have used homemade peanut butter which has no added sugar. Also, the criss-cross pattern on a typical peanut butter cookie makes them look so pretty.

Peanut butter cookies 05

3/4 cup + 1 tbsp smooth peanut butter

1/2 cup powdered sugar (I added couple of tbsp of sugar more as my homemade butter had no added sweetener)

2 tsp vanilla extract

1/4 cup + 2 tsp milk

1cup + 2 tbsp whole wheat flour (atta)

1/4 tsp baking soda

1/4 tsp baking powder

1/8 tsp salt

Mix together peanut butter, sugar, vanilla and milk. Mix well so that all the ingredients are combined well.

Separately sieve together atta, baking soda, baking powder and salt. Add this atta mixture to the peanut butter mixture and form a soft dough. Chill the dough for 15 minutes in the fridge.

Meanwhile, preheat the oven to 180 degree Celcius.

Make balls with the dough. (I used 1 tbsp as my measurements as I prefer smaller cookies.). Press the balls onto the parchment lined cookie tray making a criss-cross pattern.

Bake for 8 to 10 mins. The cookies will be soft on the top and the edges will be deeper in colour when the cookies are done. Time taken for baking varies from oven to oven and also depends on the size of the cookie, so adjust accordingly. Cool the cookies on the cooling rack and keep them in airtight containers on cooling completely.

Note : I halved the recipe given above and got around 12 cookies.

Peanut butter cookies 02

Fresh Fig Brownie

Happy Valentine’s day !!!

Fresh Fig Brownie 02

We really don’t have a ritual for Valentine’s day, but rather just go with the flow. Today it was celebrated with the whole family around the breakfast table. It was wonderful. Coming to the recipe, this is one of those recipes which is just awesome and happens by accident.

Fresh Fig Brownie 01

We really don’t eat fresh figs and I had a dozen to finish. Fig jam was obvious and tried, so decided on making a cake and an ice-cream. I had my fingers crossed with the cake in the oven because it was the first time I was using fresh buttermilk. (Here, I have used the buttermilk which remains after removing the butter for ghee.) It turned out just wonderful and was liked by all. I decided to call it a brownie because of the taste, texture and the amazing cracked top. It’s an easy and a healthy recipe. I know it has butter, but I believe a controlled amount of good fat is essential for your body.

I have adapted this recipe from the chocolate beet cake recipe.

Fresh Fig Brownie 05

Dry ingredients

1 1/4 cup whole wheat flour

1/4 cup cocoa powder

1 tsp baking soda

1/2 tsp baking powder

1/4  tsp salt


Wet Ingredients

1/4 cup fresh homemade butter (at room temperature)

3/4 cup powdered jaggery

1 cup fresh buttermilk

1/2 cup fresh fig puree

1 tbsp vanilla extract


Pre heat the oven at 180 degree Celsius.

Sieve together all the dry ingredient and combine it well.

In another bowl cream butter and powdered jaggery. Then add pureed fig and buttermilk and mix well.

Add the dry ingredients into wet ingredient and wisk together for a lump free batter. Do not over mix. Pour the batter in a greased and floured 7” x 9” tin. (I used a parchment paper at the bottom of the tin)

Bake for 25 mins or till the toothpick inserted in the middle comes out clean. Each oven is different so the time required may vary.

Let it cool in the pan for 20 mins and then on the wire rack till it is completely cooled. Slice and serve.

Fresh Fig Brownie 08