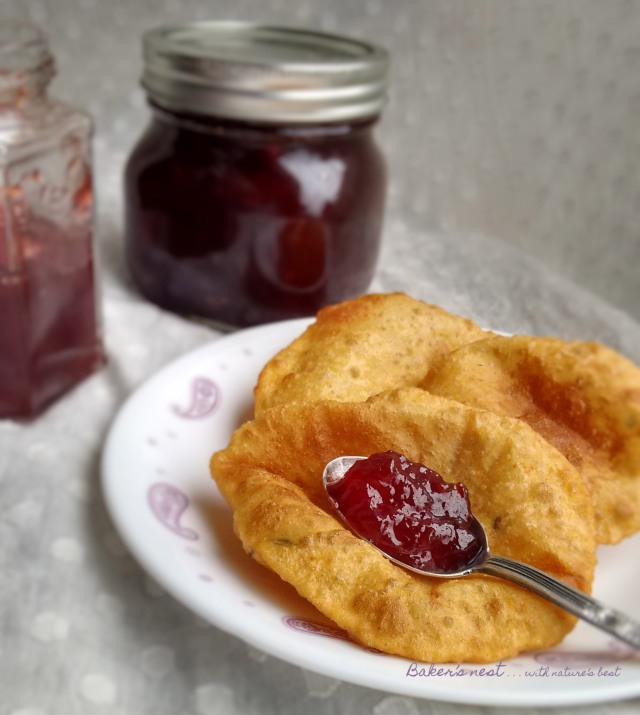
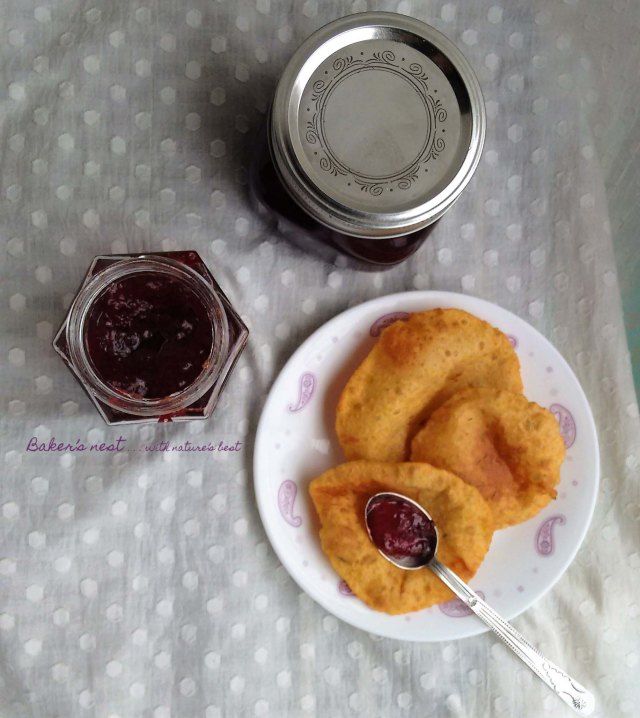
Avvi loves jams and enjoys all the different fruit jams that I keep experimenting with, though strawberry remains an all-time favourite with us. Infact, Avvi prefers jams to ketchup, so we are always stacked with few bottles at home. I believe homemade jams are a better option than the store bought for kids, as we can cut down on additives, artificial colours and flavours. I too like to fill jam between the cake layers, as it adds a different note to the flavour profile. So, this is a must have in our pantry.
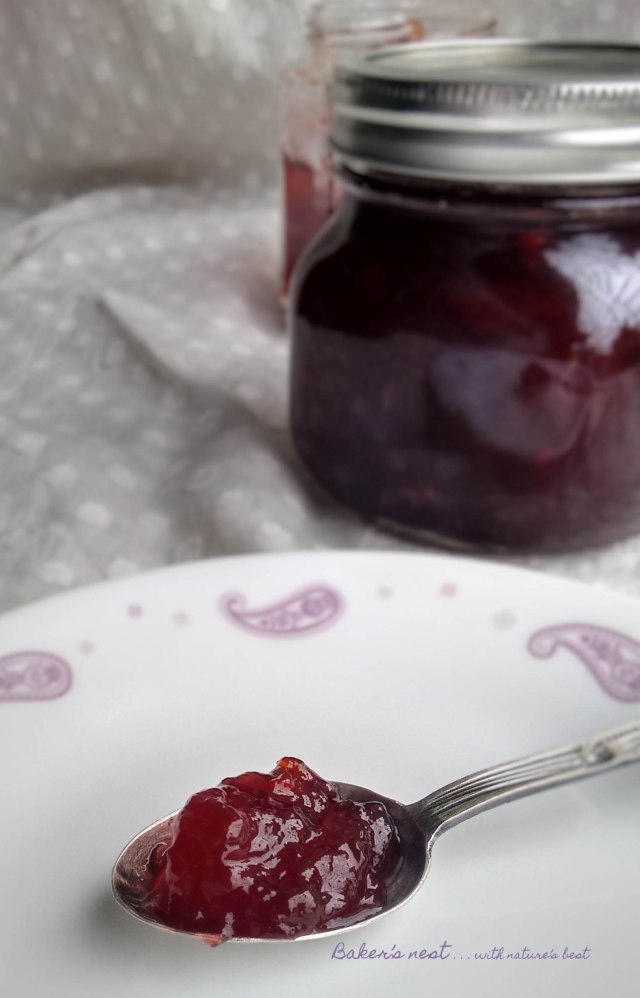
Plum jam is so rich in colour and tastes amazing. It has a bit of tang which we prefer than a totally sweet jam. They are currently in season here in Mumbai and what better way to preserve some plum goodness. This is an absolute no fuss easy recipe without removing the skin or adding pectin.
750 gms Ripe plums
Sugar as mentioned in the recipe
Lemon juice as mentioned in the recipe
Wash the plums and pat them dry. Place them in a steel cooker with water just enough to cover the fruit till one fourth level. Do not worry about adding more water. If you add more water you may require boiling the mixture for some extra time, that’s it.
Cook the plums in the pressure cooker for until the one whistle blows and then turn off the heat. Let it cool and the open the cooker.
Remove and deseed the fruits one by one and mash them slightly along with the water it was boiled in. Measure this pulp. I got two and half cups of pulp. Transfer the pulp back to the steel cooker.
For every cup of pulp add a cup of granulated sugar. Add 1 teaspoon of lemon juice for each cup of pulp.
Mix the pulp, sugar and lime juice and turn on the heat. Let the mixture boil and then reduce the heat. Then reduce the heat and keep the mixture bubbly and let it simmer in the open pan. Keep stirring occasionally.
When the mixture starts coating the back of the spoon, take a blob of the mixture in a plate and place it in the freezer for five minutes. If the consistency of the mixture is jam like after five mins in the freezer then your jam is ready.
Pour into sterilised glass containers. You can use the water bath method to can these. I sterilise empty clean bottles in oven at 100 degrees celcius for ten mins. Then pour the hot jam into the jars and close the lids. Keep an inch empty from the brim while filling the jars.
To get regular updates by e-mail follow the page or connect with me at Facebook or Pinterest or Google Plus